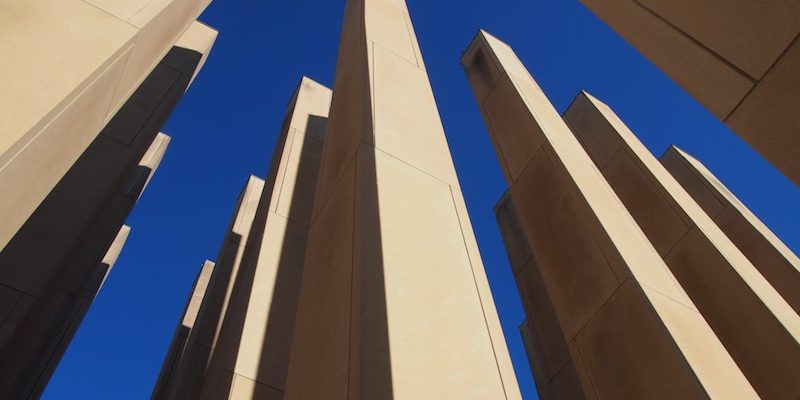
“Bartholomew County Memorial for Veterans” by Thompson & Rose Architects. 1997. Photo courtesy Richard McCoy and Associates (2014)
Your artwork is done and ready to be sold or entered in a competition. Now, you just need to photograph it. Did I just hear a big ugh? Photographing your artwork can be a hassle, but it’s what makes or breaks a sale or call for entry.
Avoid images with uneven lighting, distracting glares and shadows, and incorrect colors. Start photographing your 2D* work like a professional with these easy and affordable best practices.
*3D artists, there’s helpful tips in this post for you – check ‘em out. A more focused post on 3D works is coming!
The Set Up: Position Your Artwork and Yourself
- Arrange the artwork.
- Remove matting to avoid shadows.
- Hang the artwork on a wall and make sure it’s level to prevent shadows.
- If you have to lean the work against something, tilt the camera so that the edges of the work are square in the viewfinder; otherwise your work will be a trapezoid.
- Photograph the work against a neutral color, like white. Colored or patterned backgrounds distract the viewer and reflect color onto your piece.
The “trapezoid effect” from not shooting the artwork straight-on.
- Line-up your camera.
- The camera should face the artwork head-on. Line the lens up with the center of the subject. Make sure the plane of the artwork is parallel to the back of the camera.
- Get closer.
- Fill the entire frame with your artwork to get the most out of your camera’s resolution.
- BUT, do not fill the frame with a zoom or wide-angle lens. Both can distort images by zooming in closely.
- Avoid glare and reflections.
- Glass reflects light avoid reflections and glare by photographing your work before it’s framed. If you can’t, angle the camera to minimize glare.
- If your work is oil or acrylic, photograph it before adding a glossy varnish.
Lighting: Portray Your Work in its Best Light
- Indirect light is best when shooting indoors.
- Shoot in a room with plenty of windows and natural light, or, use natural light fluorescent bulbs. Avoid direct light since it creates hot spots.
- Use cheap materials to diffuse light.
- Soften glare and the intensity of light by diffusing the light source. Place a white sheet over the light source whether that’s a window or standing light. Or, direct your light source at an angle against a white piece of foam core to “bounce” and soften light.
- Wait for a cloudy day if shooting outdoors.
- Why? Cloud cover acts as a giant diffuser. Your subject will be evenly lit.
- But, be willing to embrace mid-day sunshine.
- If you’re under a deadline and it’s sunny out – no worries. Photograph mid-day (between 10am and 2pm) when the sun is high in the sky and will not cast any shadows. Early morning, late afternoon and evening light casts a reddish light.
- Beware of colored walls and objects.
- Colored walls or large colored furniture reflected color(s) onto your art.
- Avoid mixing light sources.
- Different lightbulbs give off different colors. And, unblocked windows let in light that is brighter than your indoor light, which will cast blue colors onto your work.
Equipment: Easy-to-Use Gear for Professional-Looking Photos
- Use a Tripod to avoid blurry photos.
- If you don’t have a tripod, prop your camera on something solid like a shelf.
- Don’t have anything that’s the right height? Use your body as a stabilizer. Stand or sit still; hold your elbows against your body; take a deep breath and release it before taking the picture.
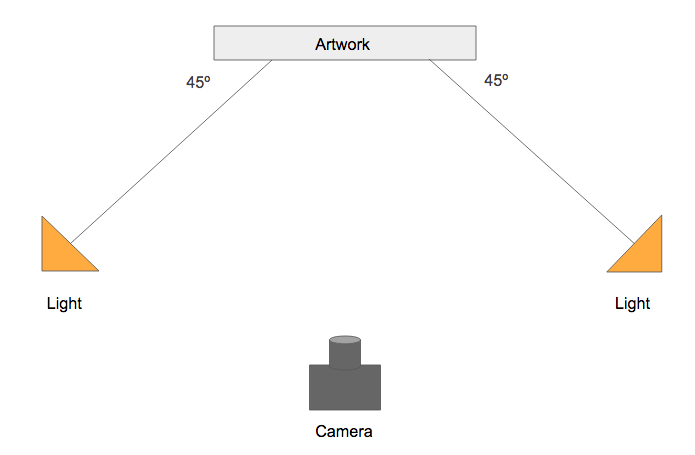
- Two cheap standing lights will do.
- Tall “dorm lights: like these are useful and cheap light sources. Put a light on either side of your work. Situate the lights between the camera and canvas. Point them at a 45-degree angle towards the work to eliminate shadows.
- Borrow or buy an affordable DSLR.
- DSLRs give you more control over the quality of the photo you’re taking as opposed to a point and shoot or smartphone.
- Get the most out of your DSLR with the online photography class, Basics of Digital Photography. In 9 lessons you’ll become more familiar with your camera’s settings, learn the fundamentals of light and exposure, and much more. Get the class for only $19.99 – that’s 66% off for CaFE blog readers!
- TIP: Clean your lens! Dust on the glass will mess with your camera’s automatic focus and may appear in the photo.
Camera Settings: Get the Most Out of Your Camera
- Adjust White Balance.
- When you take photos of your works do they come out too warm or blue-toned? That’s because your camera is improperly reading and capturing the color white. Fix this by adjusting your white balance – the setting your camera uses to determine what color is white depending on the temperature of the ambient light.
- Set your white balance to “Cloudy” if you’re outside on a cloudy day. Set your white balance to “Daylight” on a sunny day.
- If you’re inside, set the white balance to match the kind of light you’re using, i.e. fluorescent or tungsten.
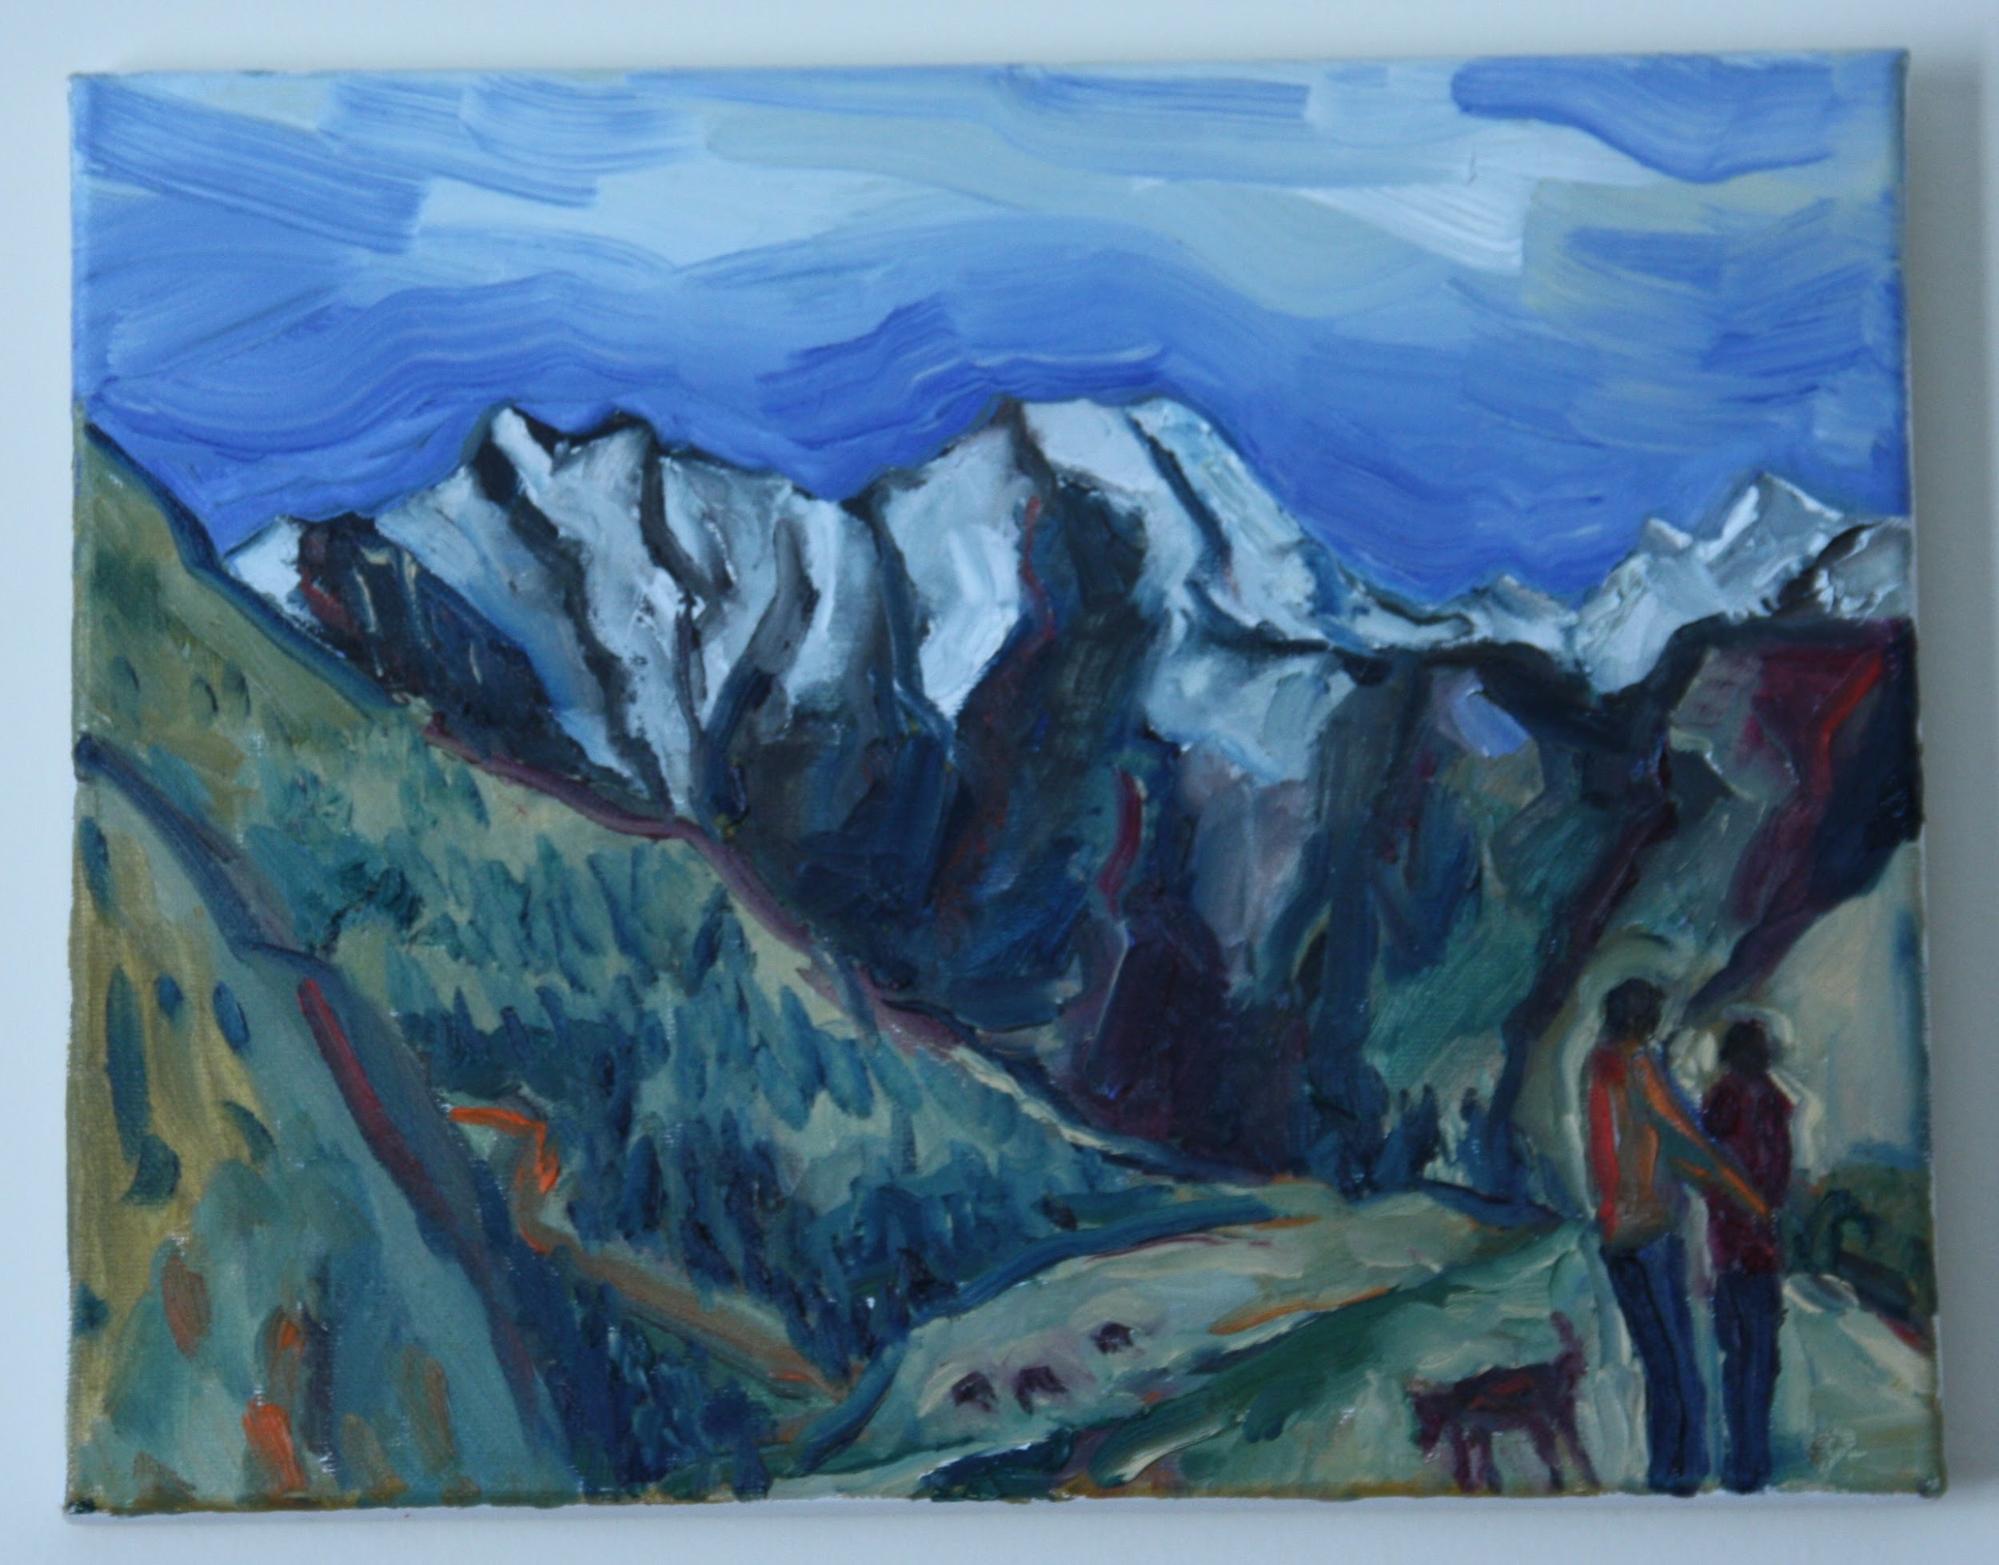
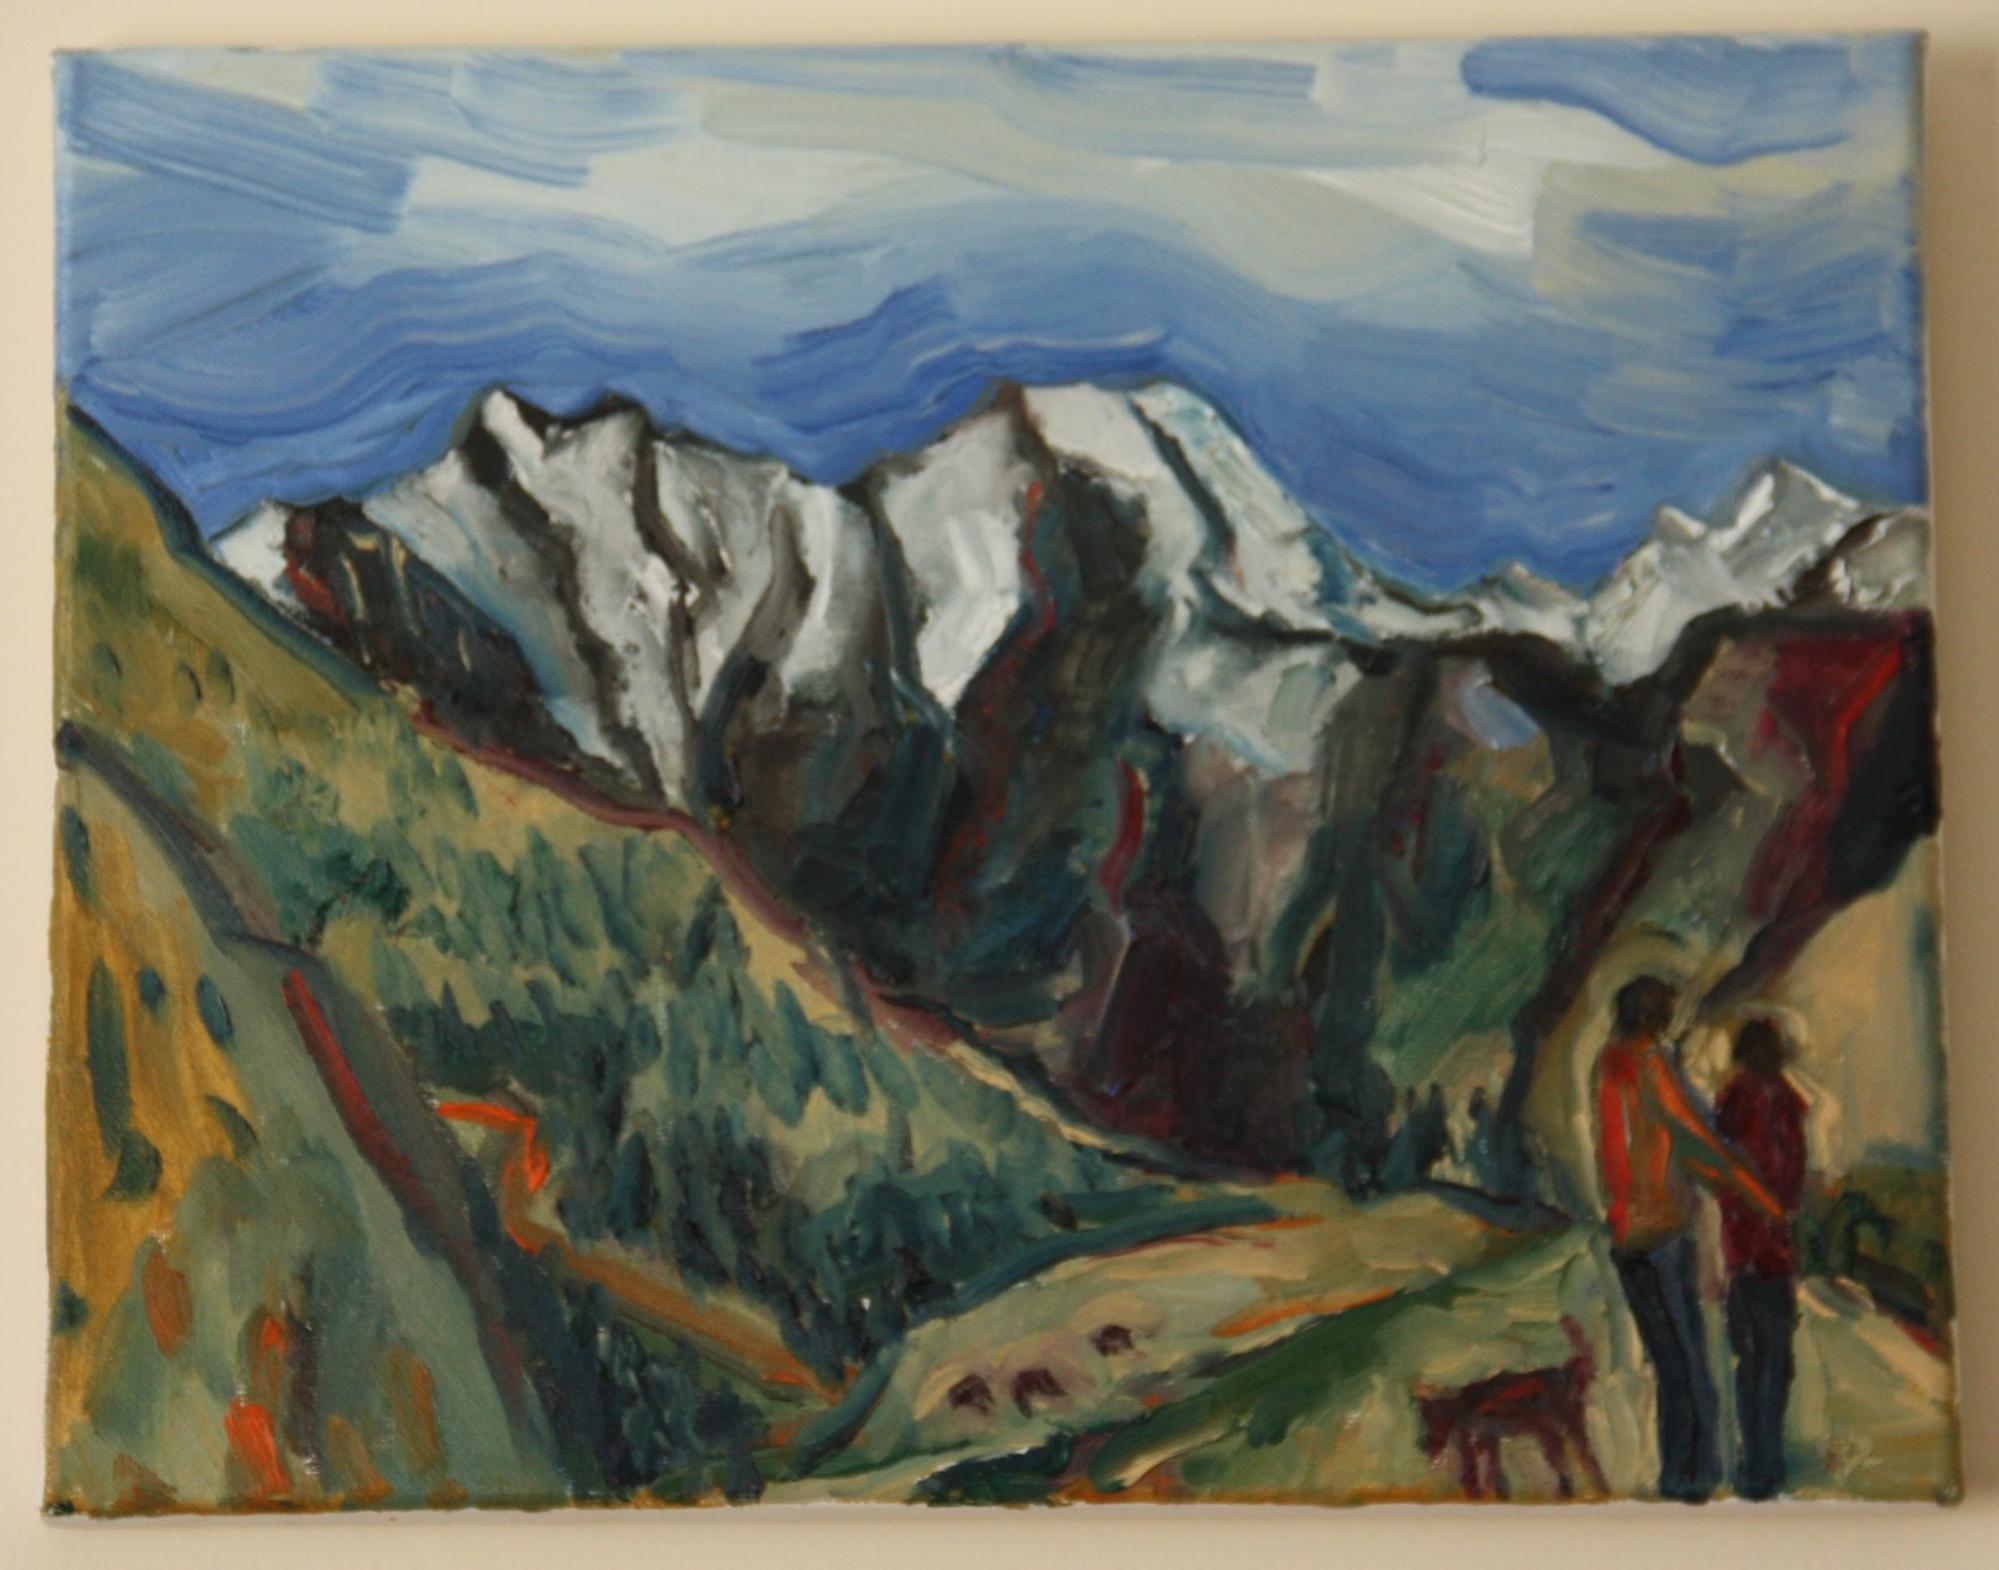
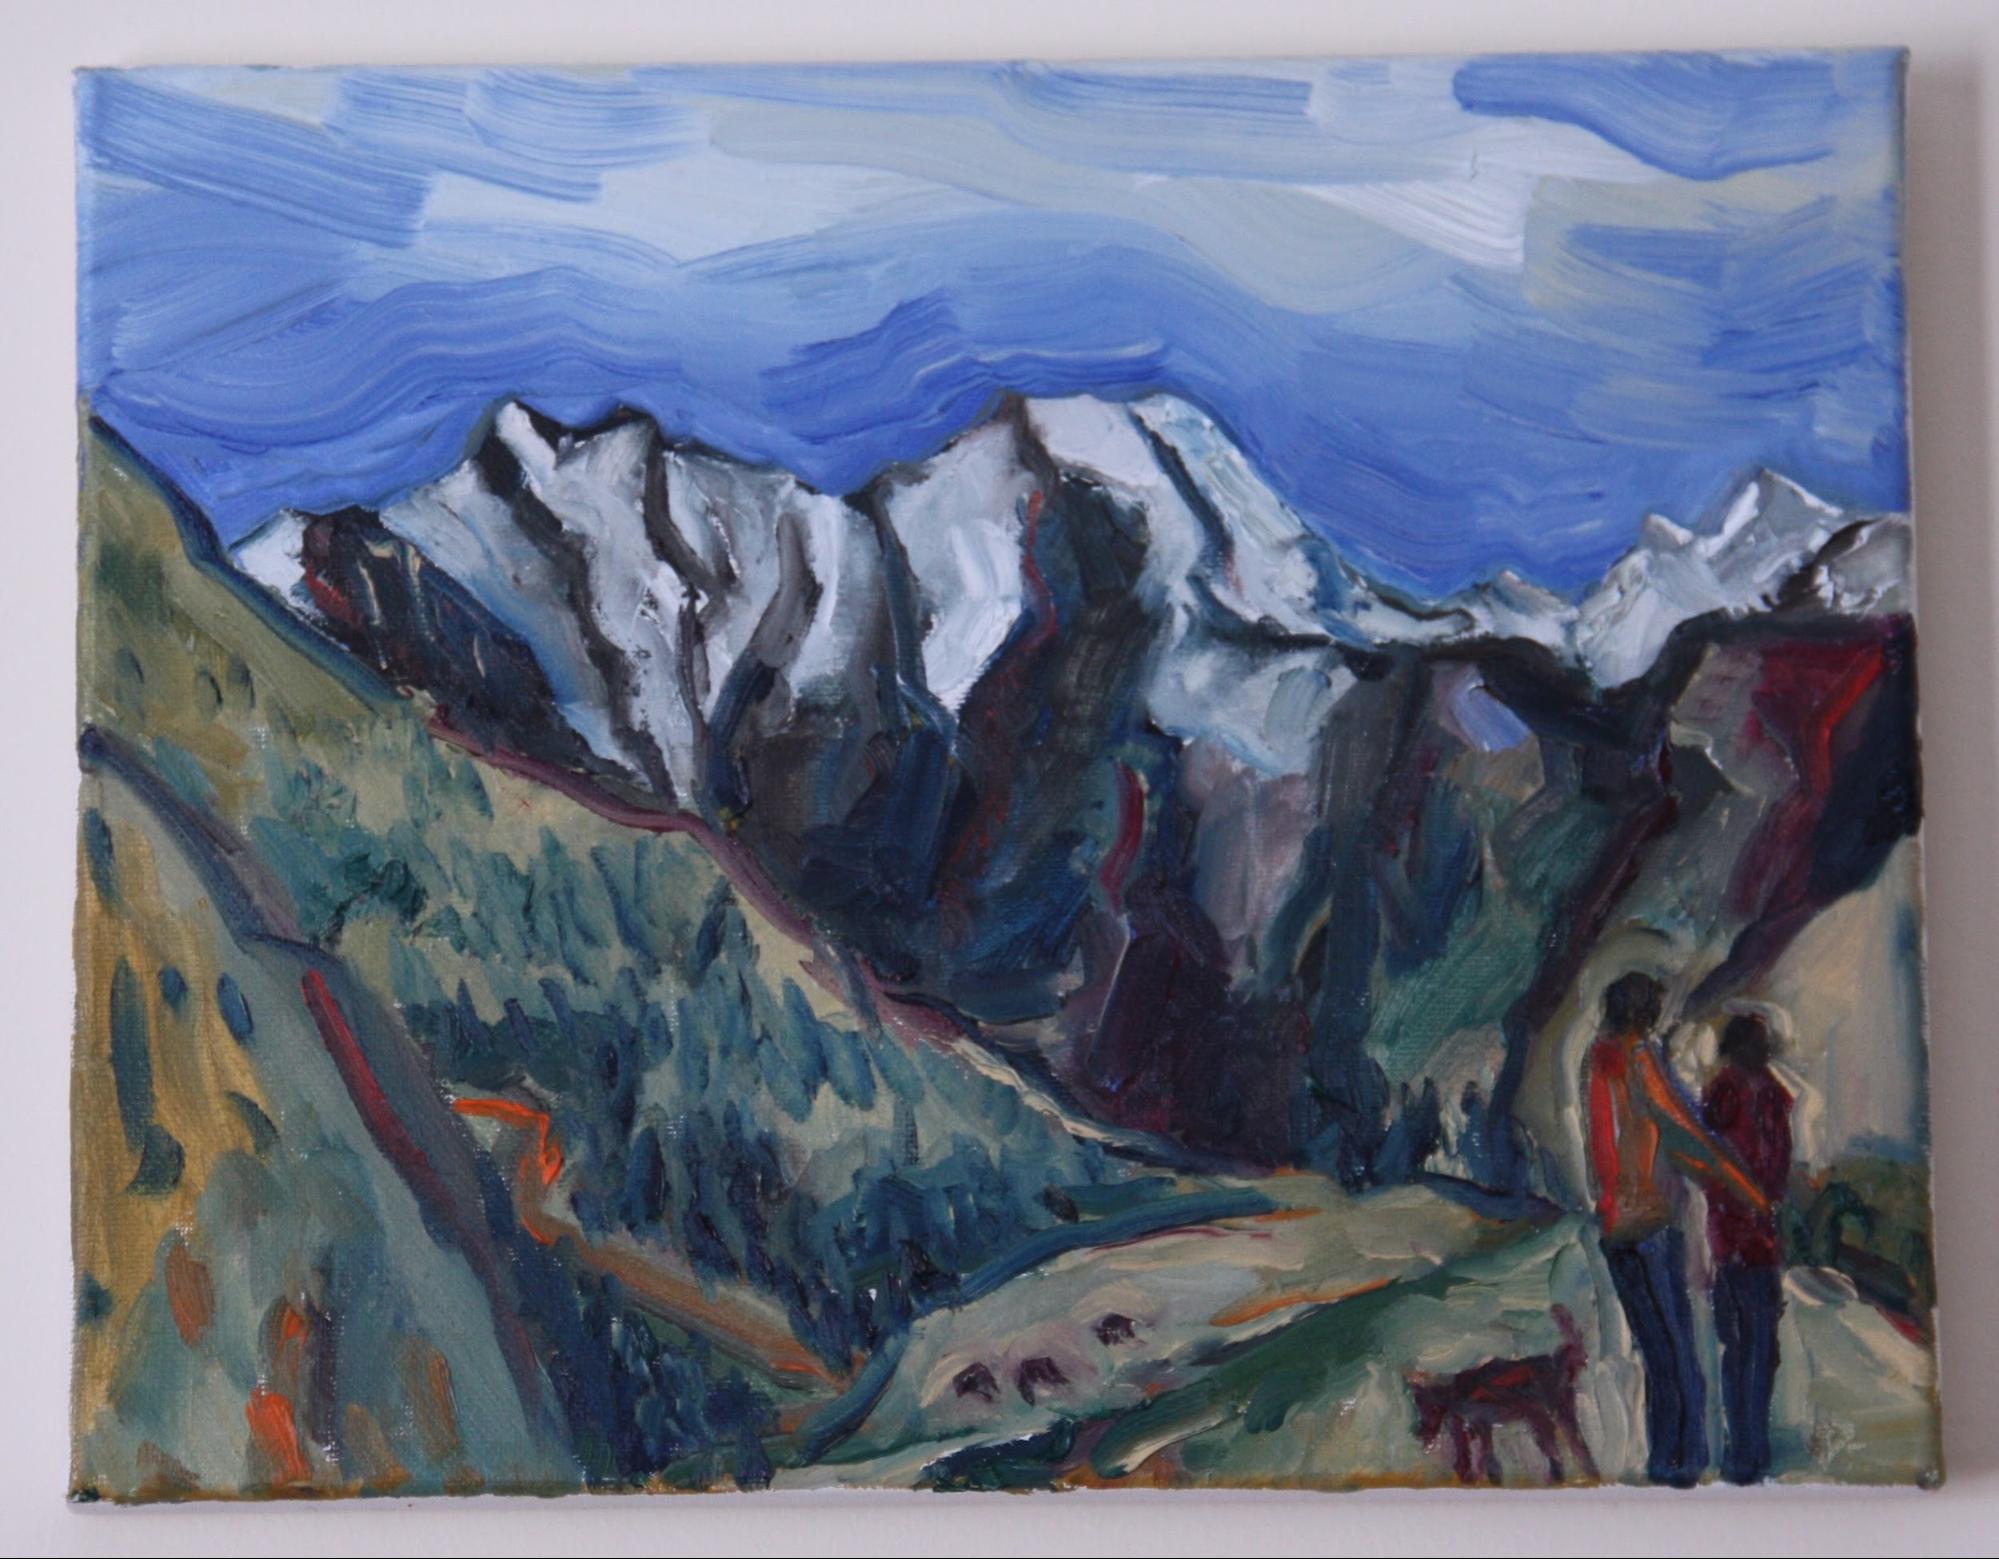
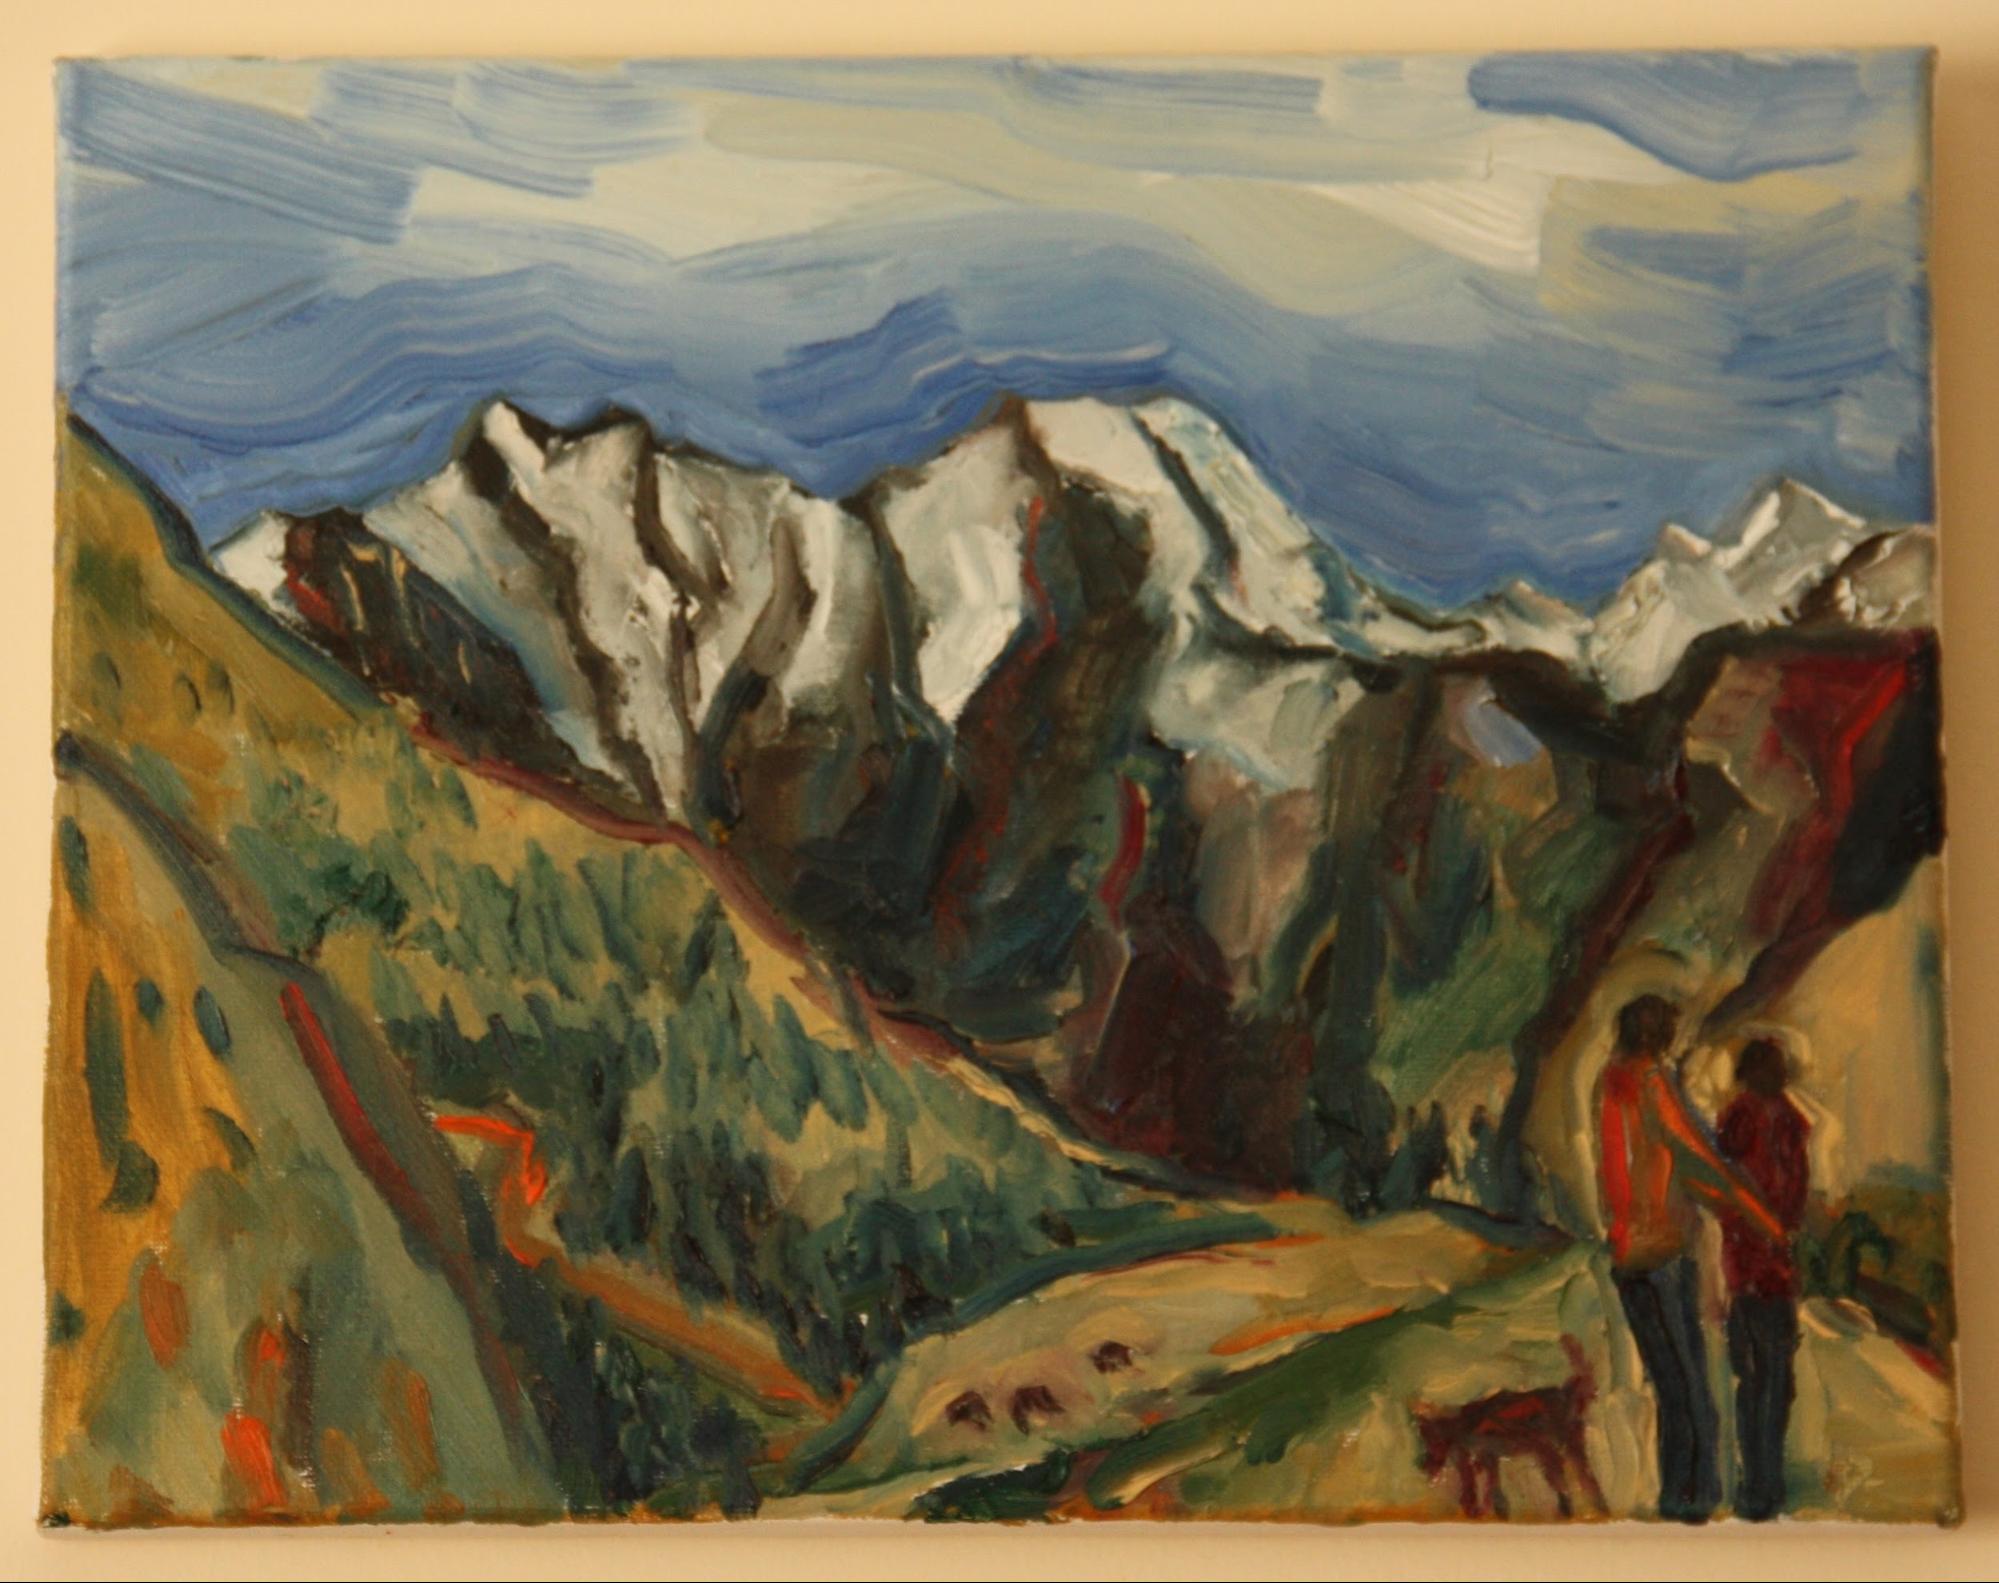
The same painting was photographed indoors with natural light. Fluorescent white balance mode generates the most realistic colors. Clockwise from top left: Tungsten, Fluorescent, Daylight, Shade.
- Set the ISO to the lowest setting.
- Setting ISO accurately will give you a clear, crisp photo. ISO measures the sensitivity of the image sensor; the higher the number, the more sensitive the sensor will be to light. Higher ISOs generates noise and grain in your image so it’s best to keep your ISO at 100. Learn more about ISO in this Craftsy blog.
- Use Aperture Priority mode (Av).
- It’s recommended to set your aperture between f-8 and f-11. This will allow enough light to pass through the lens and guarantee your work will be in focus.
- Make sure your flash is turned off!
- It will create hot spots on your work.
Editing: Fix Common Mistakes and Perfect the Image
- Correct color.
- The goal is to get your whites white and your blacks black. If your light source was different from the color settings on your camera, you’ll have to change the temperature of the image.
- Crop the image.
- Crop so that your work fills the frame.
- Resize the image.
- Images for the web should be 72 dpi and images for print should be 300 dpi. The minimum image size for online jurying is typically 1920 pixels on the longest side. Check out this blog post featuring 5 free tools to resize your images.
Now it’s time to get shooting so you have professional-looking photos ready for your CaFÉ portfolio page!
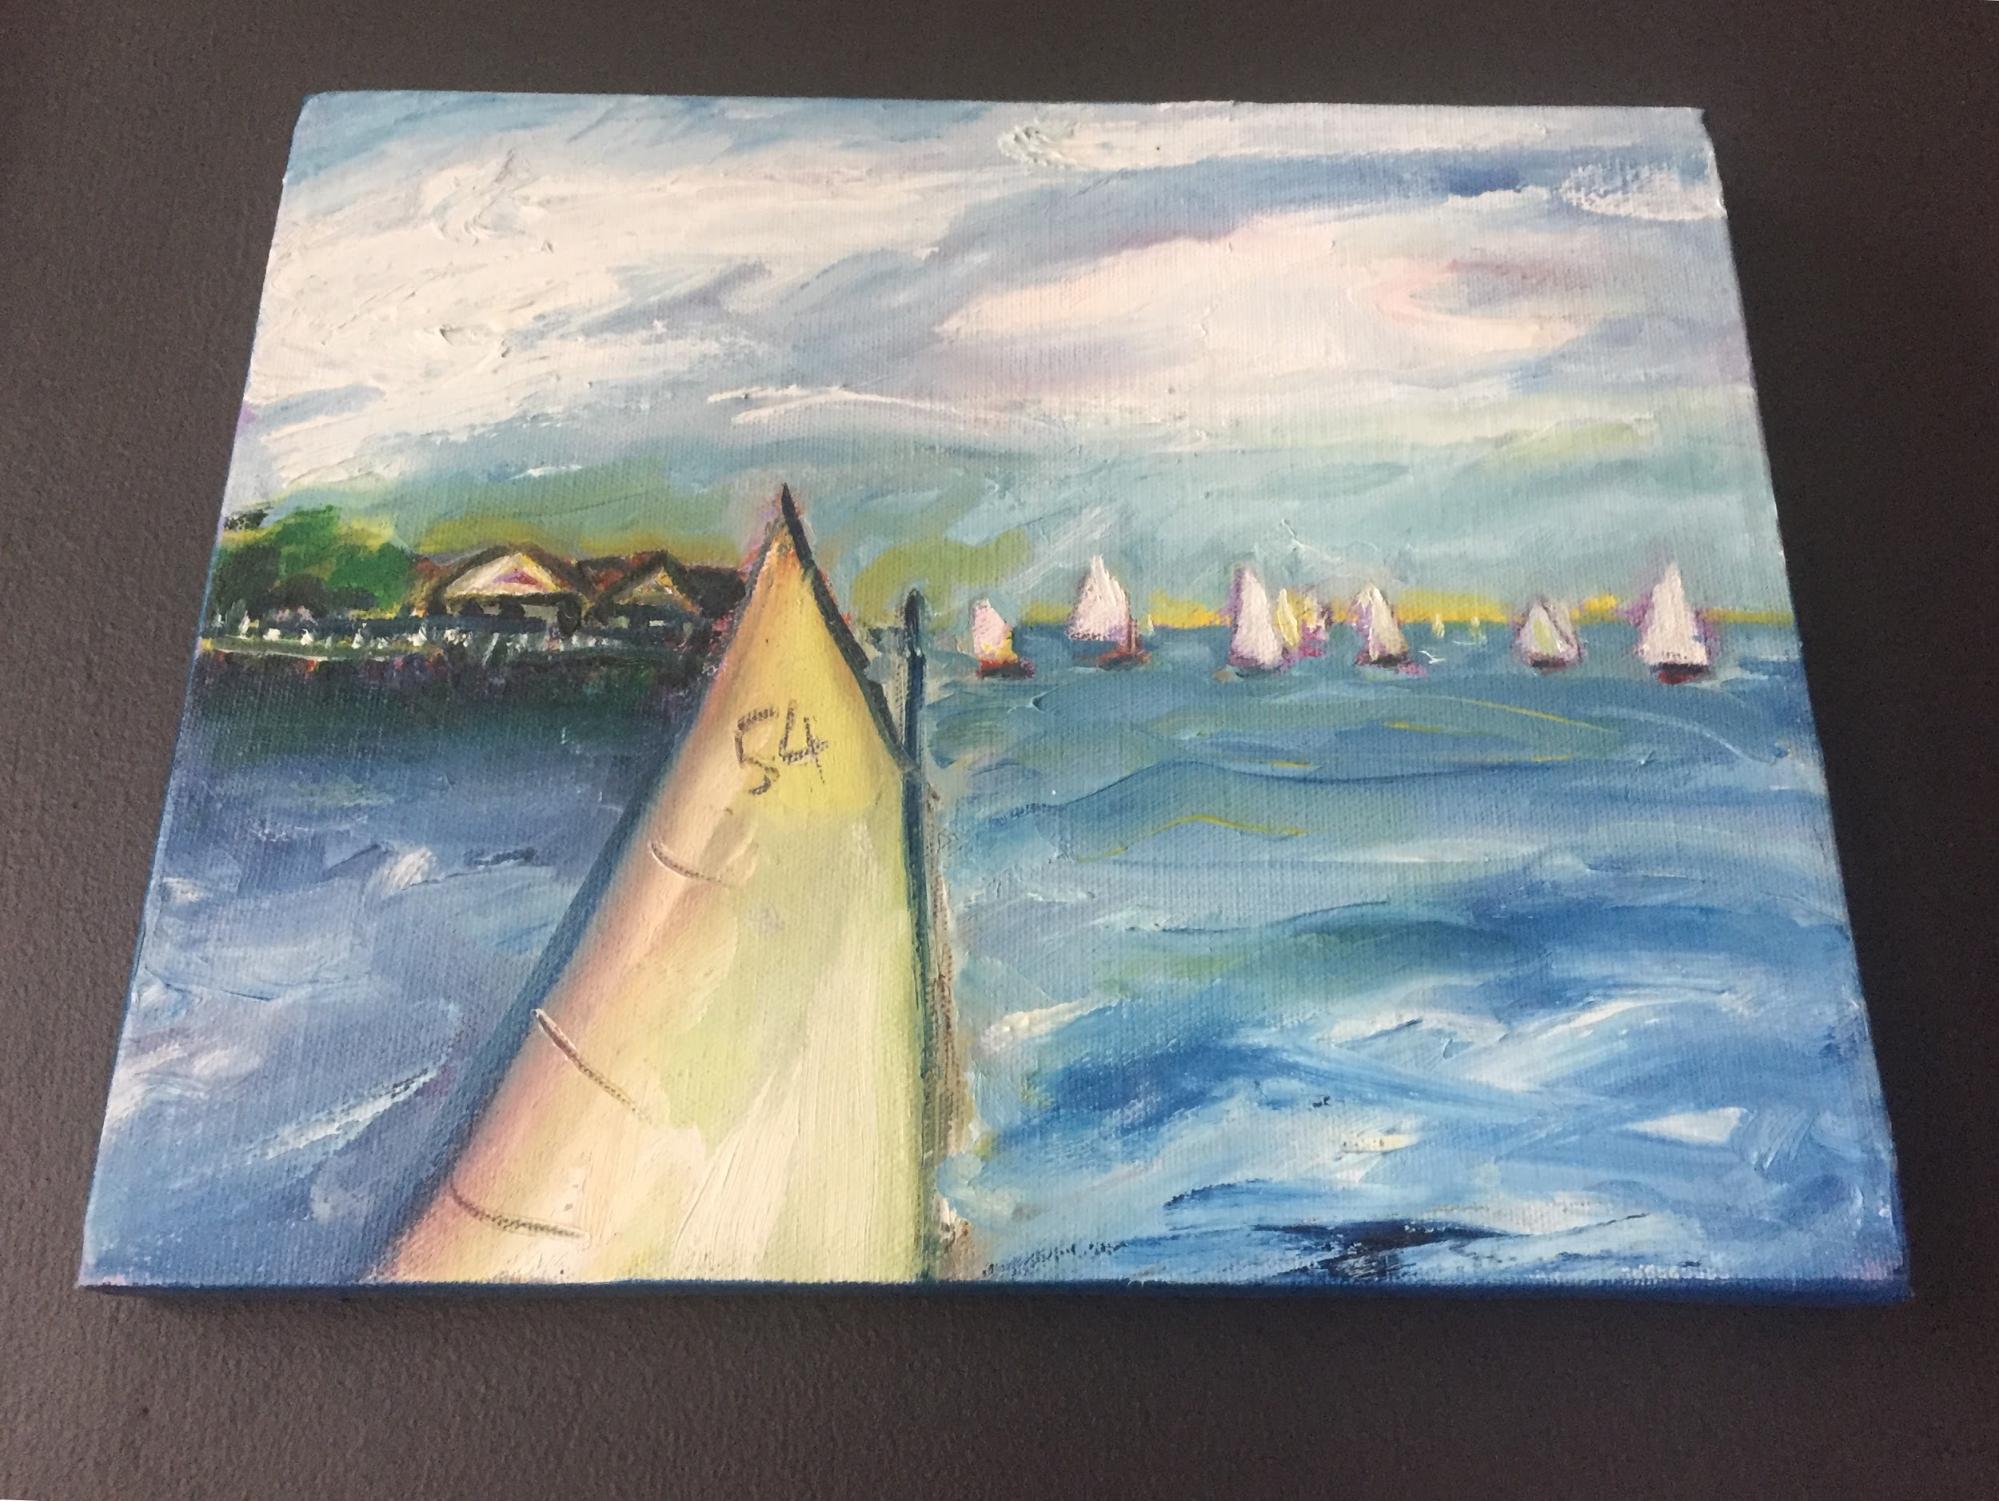
Paintings by Shaun McNiff
Written by Elysian Koglmeier