As an artist, images of your artwork are your most important asset for entering art competitions. A poor image of a great piece of art could mean the difference between being selected and being rejected. To help ensure your artwork is given its best chance in the jury, we’ve created an essential guide for photographing your artwork and preparing images to be uploaded to CaFÉ.
Why High-Quality Images are Important
Simply put—jurors are going to be attracted to great photos of artwork. The better the photo, the more your artwork will stand out on its own. A juror could be distracted by a blurry or skewed image, and that may factor into their decision when scoring your piece. While that might seem unfair, a person’s biases (whether conscious or unconscious), can impact scoring. Submitting only high-quality images can help the juror better focus on the artwork instead on any flaws with the photo itself.
Another reason to spend time capturing high-quality photos of your artwork is the likelihood those images end up being used for a virtual exhibition. With the rise of virtual exhibitions and online versions of in-person exhibitions, the images you submit to the call are often the ones used by the organization in the final product. Submit photos of your work that are ready to be seen by the public—because they very well may be.
What You'll Need
With advances in technology, taking a great quality photograph of your artwork no longer requires any fancy equipment. A smartphone can be all you really need so long as you know how to get the most out of your phone’s camera (don’t worry, we’ll cover that here). In addition to the items below, you just will need some practice and patience to capture photos of your artwork that are jury and exhibition ready!
- Your artwork: Ensure your piece is completed, and remove it from any frames or glass coverings before photographing.
- Camera: Any average-to-good quality camera or smartphone will do.
- Computer or device: A desktop computer is recommended, but you can use any device with basic photo-editing software.
- Photo editing software: See our list in the section below for a list of commonly used and other free photo editing options.
Optional Equipment:
- Tripod: A tripod is recommended to steady your camera or phone. If you don’t have a tripod, rest your camera on something sturdy like a stool or shelf.
- Lights: If you are taking your photos indoors, using two lights—one on either side of your work—will make your artwork stand out and avoid shadows.
- Background/Stand: If you are photographing 2D artwork, find a neutral, patternless, and preferably white background to hang it on. If you are photographing 3D artwork, find a neutral stand or ledge to display it on—ideally one that would blend with the background.
How to Set Up Your Artwork
One of the most important steps to capturing high quality images is properly setting up the artwork. Positioning your work and lighting it properly will make a great deal of difference in the final images.
Step 1: Position your artwork.
For 2D artwork, hang the piece on a wall or vertical easel. Make sure it’s level and flat against the wall to prevent shadows. If you have smaller work, you can also lay it flat on the floor and take photos from above.
Tip: If you must lean your art against the wall, adjust the tilt of your camera so the corners of the work match up with the corners of the viewfinder. Do not take photos of your work at an angle, or else you’ll create the “trapezoid effect,” which will not look good to the juror.
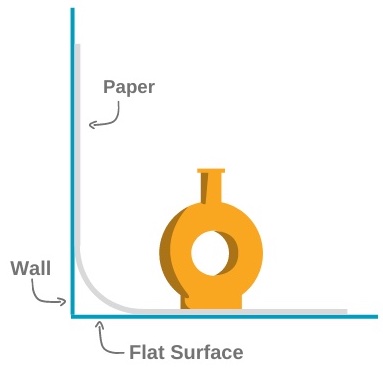
For 3D artwork, place the piece on a flat surface or stand against a neutral background. Leave some space between the work and the background.
Tip: If you don’t have white or light gray walls, create a “sweep” by taping paper to the edge of the flat surface and sweeping it to a vertical point behind the flat surface. This will give your artwork a seamless background to stand out.
Step 2: Light your artwork
Natural Lighting: Natural, indirect light is a great and easy option for taking photos of your artwork. If you are shooting your work indoors, find a room with the most windows and natural light. You can also shoot your work outdoors, especially on cloudy or overcast days (which gives you the best indirect light).
Tip: Whether indoors or outdoors, avoid shooting your artwork in direct sunlight. This will cause shadows and miscoloring of your artwork in the final images.
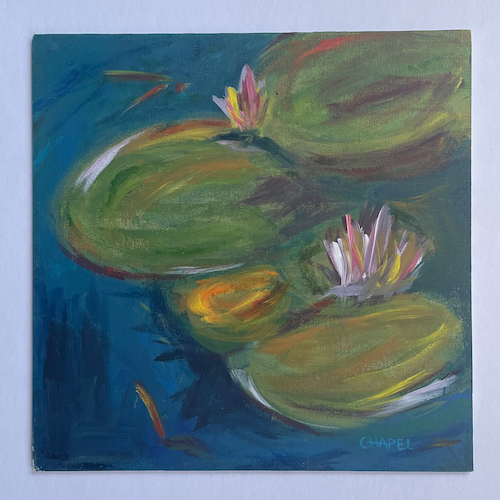
Natural Light Outdoors
✗ Direct Sunlight
Direct sunlight causes uneven lighting and hotspots on the artwork.
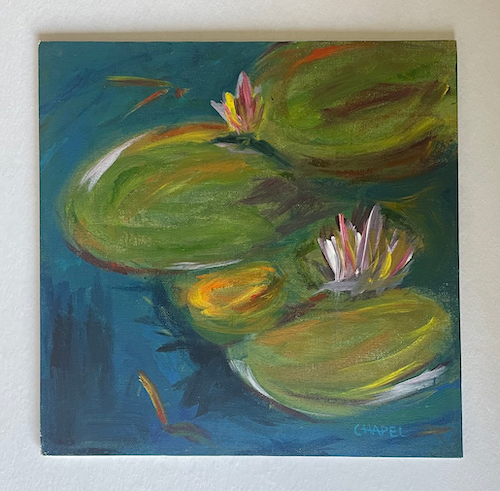
✗ Shade
While more even, photographing in the shade can cast a blue tone over the artwork.
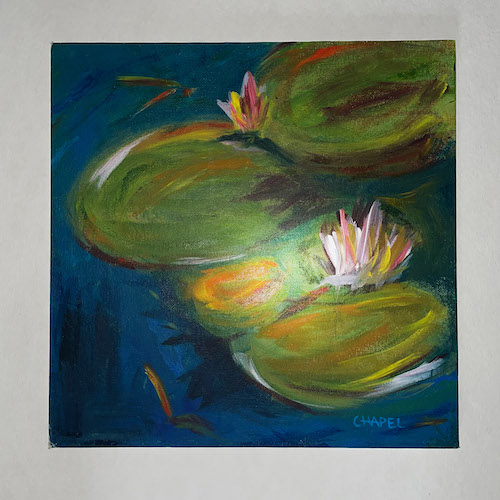
✓ Overcast

Photographing in overcast or cloudy conditions allows for even light and more natural colors.
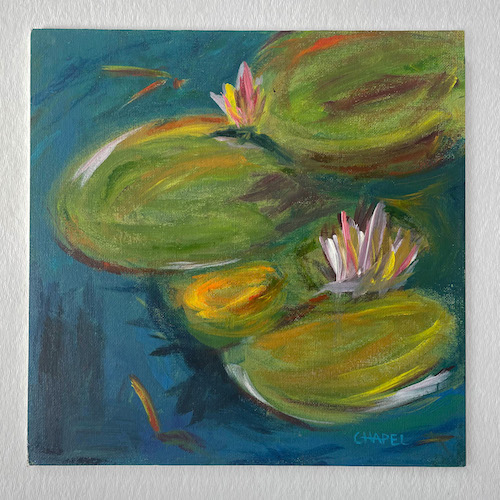
Natural Light Indoors
✗ Inside Direct Sunlight
Even indoors, direct sunlight causes uneven lighting and shadows.
✗ Flash
Do not use flash to avoid hotspots.
✓ Inside Diffused Sunlight
Find diffused sunlight if photographing indoors for even lighting.
Artificial Lighting: If you can’t find a natural and indirect light source, or if you are shooting your artwork at night, you’ll need to set up at least two lights (two is the minimum to prevent shadows). Place the lights at a 45-degree angle pointing toward the wall.
Tip: You can also diffuse the lights by placing a white sheet between the lights and the artwork. Alternatively, use pieces of white foam core facing the wall, point the lights on the foam core, and the light will reflect evenly back onto the piece.

Artificial Light Indoors
✗ Trapezoid Effect
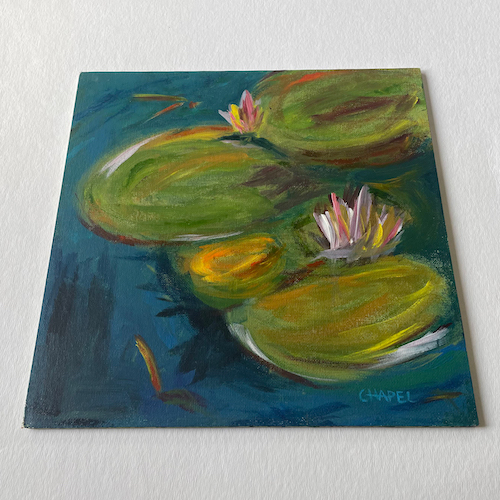
Avoid photographing your artwork at an angle to avoid skewing the perspective.
✗ One Light
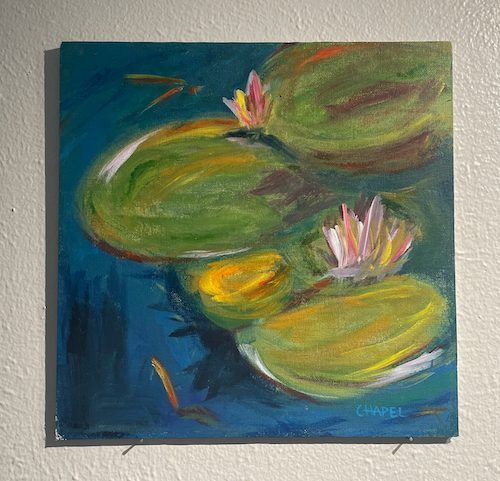
Using only one light source causes uneven lighting and shadows.
✓ Two Lights
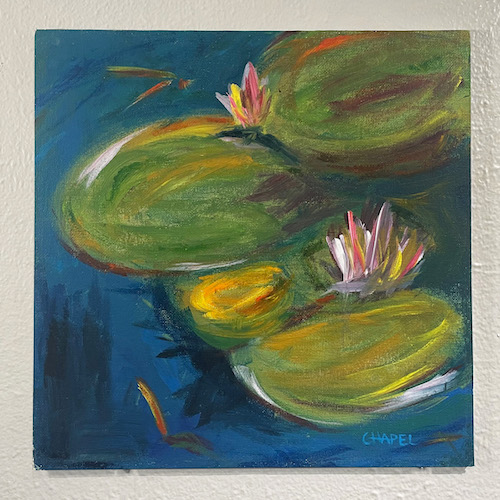
Use two lights, each at a 45 degree angle toward the work for even lighting and minimized shadows.
Step 3: Adjust your camera settings.
Whether you’re using a DSLR camera or a smartphone, here are some things to keep in mind for your device of choice:
DSLR:
-
- Set the aperture between f-8 and f-11 to allow enough light to pass through the lens and guarantee your work will be in focus.
- Set the ISO to the lowest setting for a crisp, clear image.
- Turn your flash off to avoid glares or hotspots.
Tip: Use the camera’s self-timer feature so that it will take the photo a few seconds after you press the shutter, which can shake the camera!
Smartphones:
-
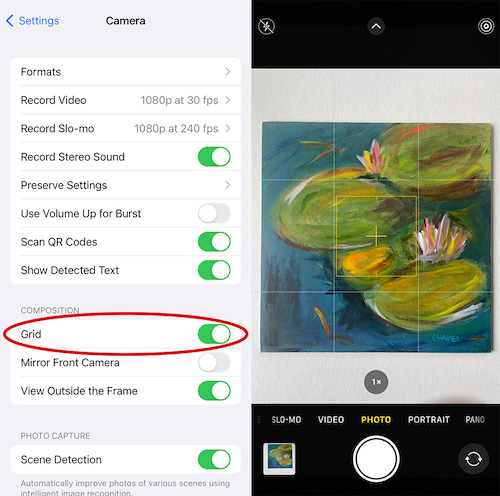
- Enable the grid function on your phone’s camera settings so you can more easily align the artwork in the frame.
- When taking photos, touch the portion of the screen where your artwork is positioned. This will focus the shot on the artwork where you want it.
- If using an iPhone, disable the HEIC setting so your photos are taken as JPG images. To disable, go to Settings > Camera > Formats > Most Compatible. If you do take your photos using HEIC, use an online converter such as https://heictojpg.com to reformat them as JPG images.*
Tips for Taking Photos
When you’re ready to take your photos, follow these tips for best results:
- Always make sure your camera lens is parallel to the artwork and that the edges of the work are square in the viewfinder. Use the gridlines on your camera to make this easier!
- Place your camera close enough to the artwork, leaving only a small margin around the piece. This will help maximize the image resolution.
- The auto-focus function on your camera or phone should suffice, but always check your images to make sure they are in focus.
✗ Out of Focus

Image is blurry, and the details of the painting are not clear.
✓ In Focus

Image is in focus, and the details of the painting are crisp and clear.
- Avoid zooming in (especially if you are using a smartphone) as this will cause a reduction in the image quality.
- Keep your camera steady—whether that be with a tripod or holding yourself very still.
- Bonus tip: Hold your breath as you press the shutter or use the camera’s self-timer feature to completely steady it.
- Take multiple shots of each artwork and check them as you go. As you take photos, make slight adjustments in your lighting or setup to give yourself many options to choose from.
- If photographing 3D artwork, take several photos from each and every angle. You may also wish to take close-up shots of your work to highlight the details.
- Wait to take down your artwork and lighting setup until you’ve checked the photos on your computer in case you need to go back and take more.
How to Edit Your Photos
Once you’ve taken your images, use photo editing software to get them ready to upload to your CaFÉ portfolio. We recommend doing this on a computer, although there are many smartphone and tablet apps that will get the job done.
Software Options*:
- Adobe Photoshop
- Microsoft Photos (Windows) or Photos (Mac)
- Pixlr E – This is an online and free-to-use photo editing software. We recommend this website for your basic photo editing needs if you don’t have access to another option.
Photo Editing Tips:
- Inspect the images on your computer to check for any flaws and see if the image is representative of your artwork.
- Check the accuracy of colors and tones on the image to the artwork itself.
- If there are major differences in the color of the photo, you may need to adjust your camera settings and lighting. Otherwise, you can correct the color of the image itself (see the next tip).
- Adjust the colors if needed.
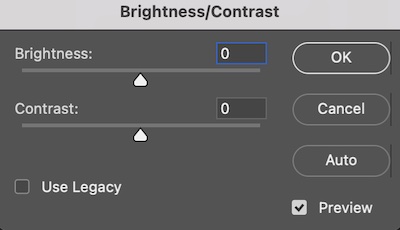
- Adjust the brightness and contrast. The goal is to get the whites in the artwork to appear white and the blacks to appear black.
- Adjust the photo’s saturation and temperature to match the colors to the artwork as best as you can.
- Tip: Do not over-edit! The photos should be a true representation of your artwork—do not try to “improve” the look of your artwork using software.
- Check the color space.
- Color space refers to how computers display color. Set your images’ colorspace to sRGB to ensure it will display best across all computers, websites, and devices.
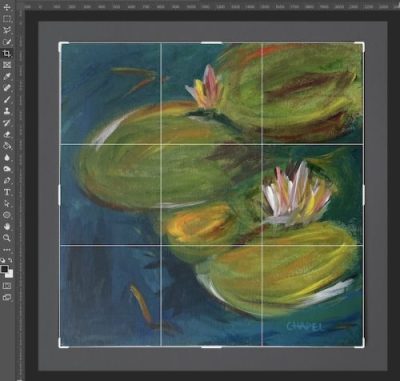
- Crop the image.
- Crop the image to remove the background. Ensure your artwork fills the entire frame of the image.
- Resize the image.
-
- The standard image size for online images is 1920 pixels on the longest edge. For uploading to your CaFÉ portfolio, the image should be a minimum of 1200 pixels on the longest edge.
- For online use, keep the image’s resolution to 72 ppi (pixels per inch).
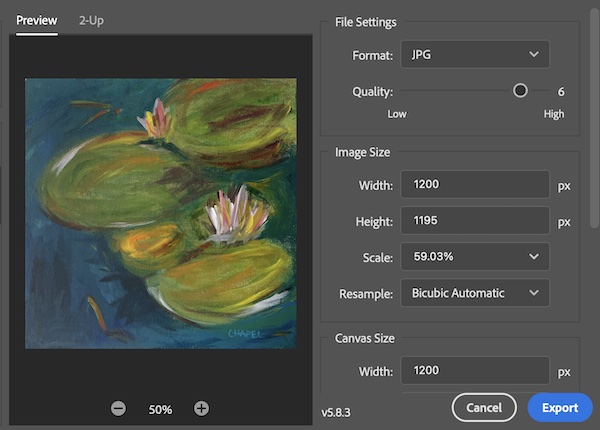
- Export as a JPG file & under 5MB.
-
- Export your image as a JPG file—this is the most accepted file format for online jurying and is required for uploading to your CaFÉ portfolio.
- Export the file so that it is no larger than 5MB. Typically this is done by adjusting the “quality” (least to best) of the file as you save it, though that may differ across photo editing softwares. Your file must be no larger than 5MB in order to upload it to your CaFÉ portfolio.
- Tip: For more information about CaFÉ’s accepted file formats, visit our Uploading Media help guide!
- Keep your images organized.
-
- When you save your edited images, save the new versions as copies so you can keep the original, unedited photos.
- Rename the files of your edited photos so it’s easier to identify them.
- Keep a separate folder on your computer or device for your unedited photos and your edited ones—this will make it easier to find the ones you want to upload to your CaFÉ portfolio.
Uploading Your Images to CaFÉ
As soon as you have the final, edited images of your artwork, you’re ready to upload them to your CaFÉ portfolio! Follow the steps on our How to Apply help guide, or watch our Upload Work Samples video tutorial for more information.
Written by Communications Coordinator Justine Chapel
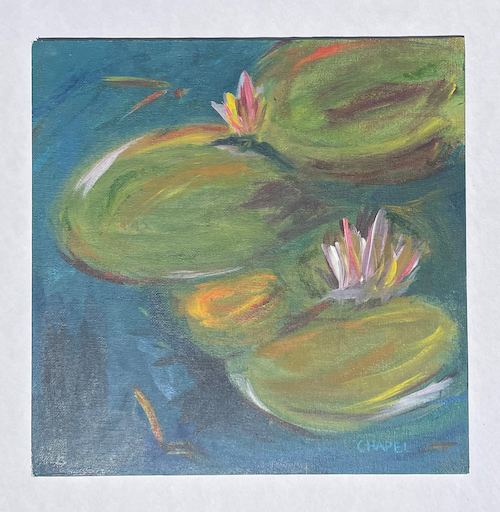
Example Artwork by Jody Chapel
*Any links to other third-party websites of nonaffiliated external sources does not imply endorsement by WESTAF of any products, services, or information presented in these external websites, nor does WESTAF guarantee the accuracy of the information contained on them. In addition, since WESTAF has no control over the privacy practices of third-party websites, you should read and understand the policies of all linked external websites with respect to their privacy practices. See WESTAF’s Privacy Policy, located at http://www.westaf.org/privacy/.